CR Phantom and CR Imaging Plates

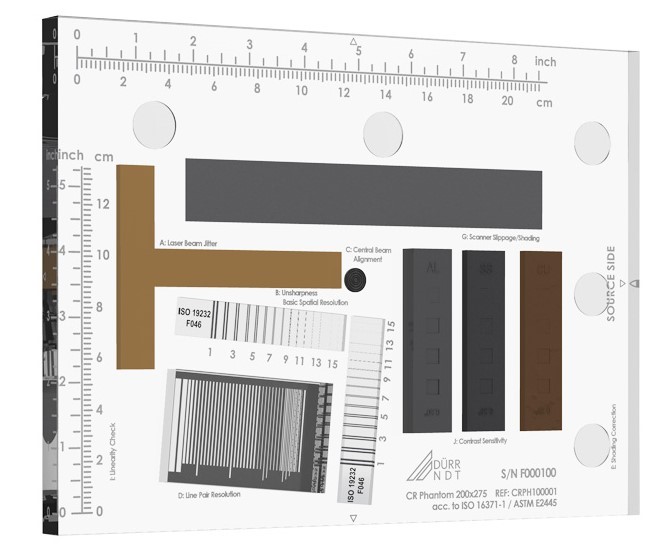
A CR Phantom can check all the important performance characteristics of a CR scanner system to ISO 16371-1 and ASTM E 2445 and NADCAP AC/7114/10 including:
- Basic spatial resolution (unsharpness).
- Contrast sensitivity.
- MTF.
- Laser beam jitter.
- Scanner slippage.
- Scanner shading.
- Linearity.
The tests are described in detail in the above standards and should be performed periodically to ensure proper and accurate system operation.
To meet the requirements of these standards, the Dürr NDT CR Phantom contains two 15D duplex wire type IQI’s along with measuring points for shading correction in both horizontal and vertical directions. This allows all the required information to be captured on the imaging plate with a single X-ray exposure, as the CR Phantom does not need to be rotated.
For ease of use, Dürr NDT have produced a CR Phantom test procedure which is available free of charge from the following website: www.duerr-ndt.com/register
Currently available in two sizes:
Part No. CRPHANTO112 – 350 x 430 x 15mm (14 x 17 x 0.59”)
Part No. CRPH100001 – 200 x 275 x 15mm (7.9 x 10.8 x 0.59”)

Scope of supply:
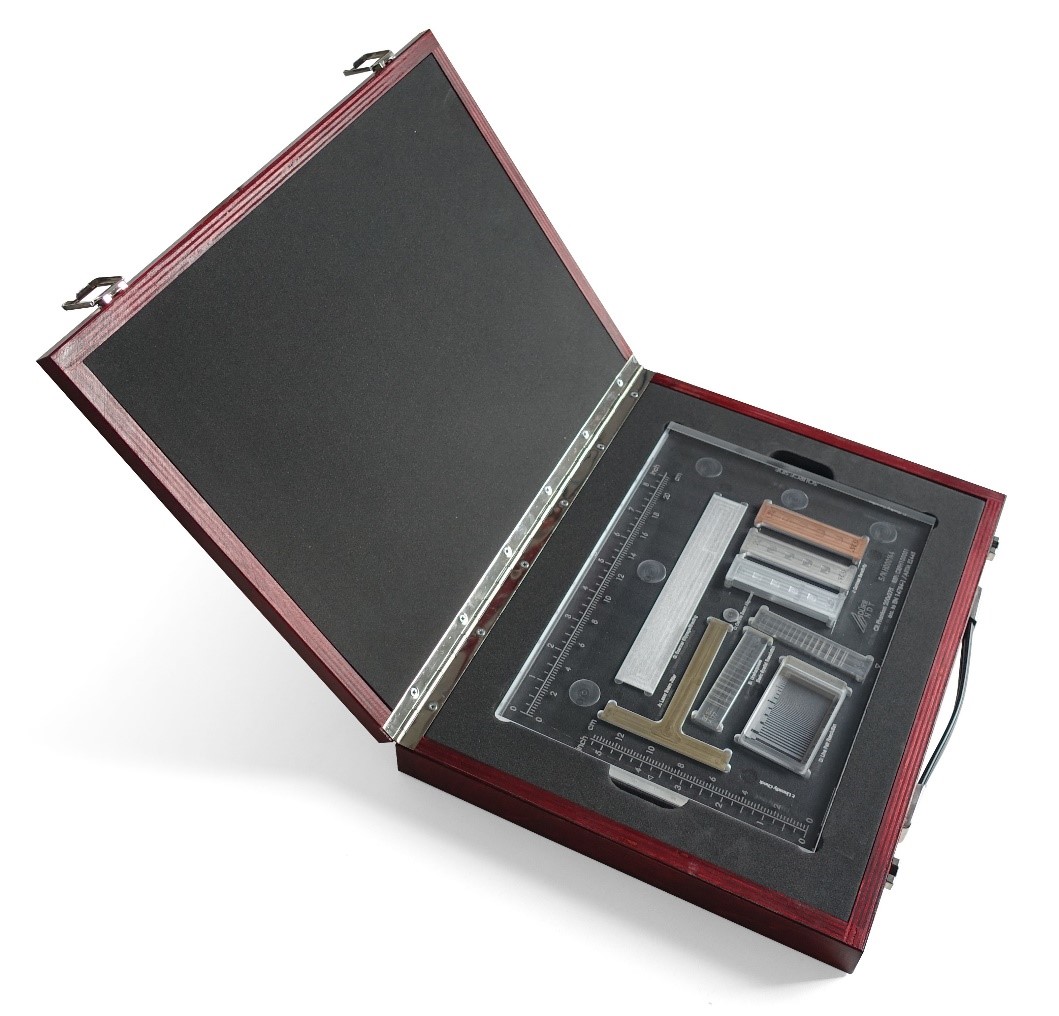
- CR Phantom in lined wooden case.
- Test reports according to ISO 16371-1 and ASTM E 2445.
- Declaration of Conformity according to EN 45014
Please do not hesitate to contact us for a quotation to supply.
Imaging Plates:
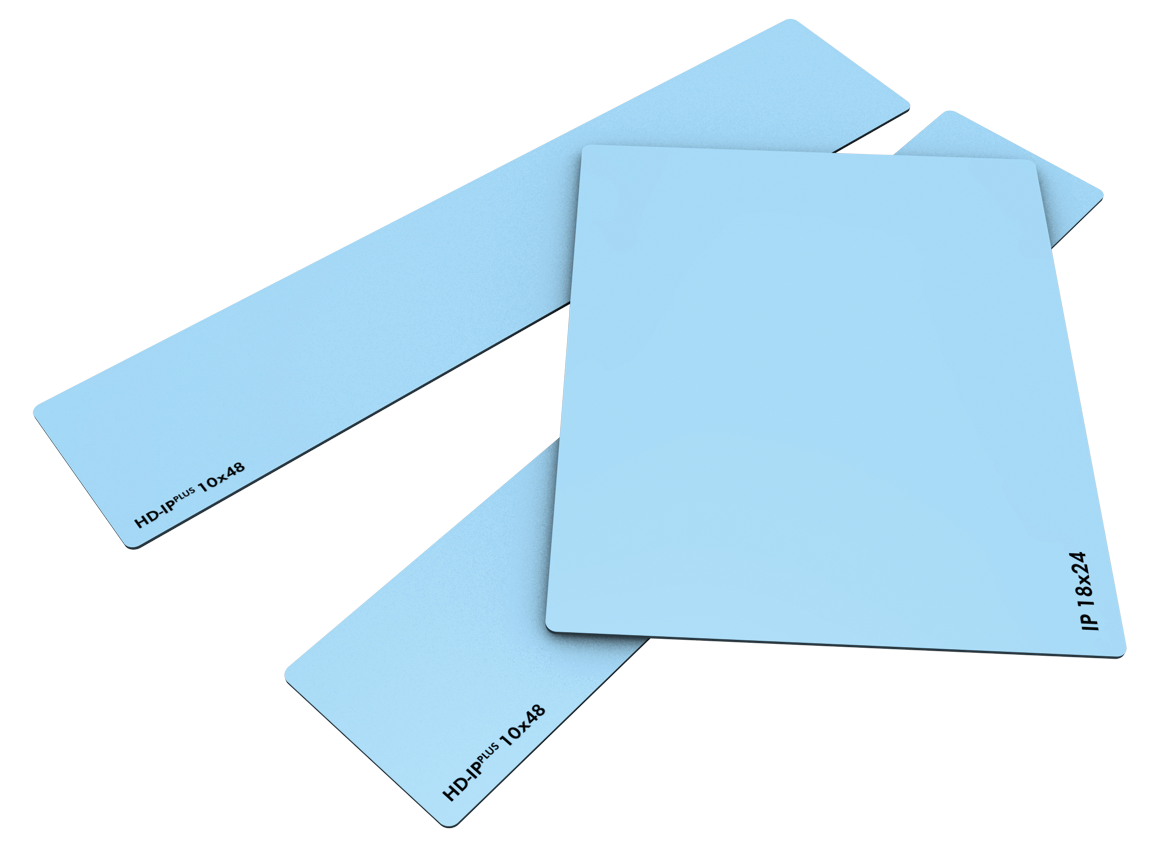
An essential part of the CR system is the imaging plate or IP. Dürr NDT IP’s are made of a photostimulable phosphor layer bonded to a flexible polymer base. HD IP’s are usually blue in colour, while the high sensitivity/general purpose CR IP’s are white.
We can supply imaging plates from 2cm to 35cm in width and virtually unlimited length. Custom shaped IP’s are also possible, e.g. curved crescent shaped IP’s on the supply of a fully dimensioned drawing.
Imaging plates which are properly handled and maintained can be used typically up to 1000 times or more depending on the application.

Image Plate Selection:
The table below will help you select the most appropriate IP for your application.
| IP Type | Achievable SRb (Duplex IQI pair)
|
Relative Dose Required | Approximate Film Class Equivalent3 |
| UHD (Blue)
|
30µm (D15+)2 | 11.0 | C2 D3 M |
| XHD (Blue)
|
40µm (D14) | 8.5 | C3 D4 MX125 |
| HD (Blue)
|
40µm (D14) | 4.5 | C3 D4 MX125 |
| HCR (White)
|
63µm (D12) | 2.5 | C4 D5 T200 |
| CR1/GCR (White)
|
100µm (D10) | 1.0 | C5 D7 AA400 |
1 – Not available in Canada, Japan, South Korea or USA.
2 – BAM Certified 30µm SRb in combination with HD CR 35 NDT (BAM/ZBF/003/15)
3 – ISO 11699-1, Agfa, Kodak
For example, to test welds according to ISO 17636-2 Class B with a penetrated wall thickness of 2 mm, a basic spatial resolution (SRb) of 50 μm or better is required. Therefore, the use of HD/XHD Blue imaging plates (which are capable of a SRb of 40 μm) is recommended as they easily fulfil this requirement.
For corrosion under insulation (CUI) evaluation, the lower incoming radiation dose on the imaging plate due to the large penetrated wall thickness (tangential) is the challenge. Therefore, a higher sensitivity imaging plate should be used to allow short exposure times. This high sensitivity can be provided by the CR/GCR White imaging plates which still give a 100 μm SRb to meet the requirements of EN 16407-1.
Please do not hesitate to contact us for a quotation to supply or to discuss your application.

